 |
| Metal Bookmarks |
Hi friends if you are like me there will be at least some paper scraps you just cant bring yourself to throw! I just cant throw any pretty paper with images of butterflies and flowers and especially if it's paper like Graphic 45....all bits get hoarded!
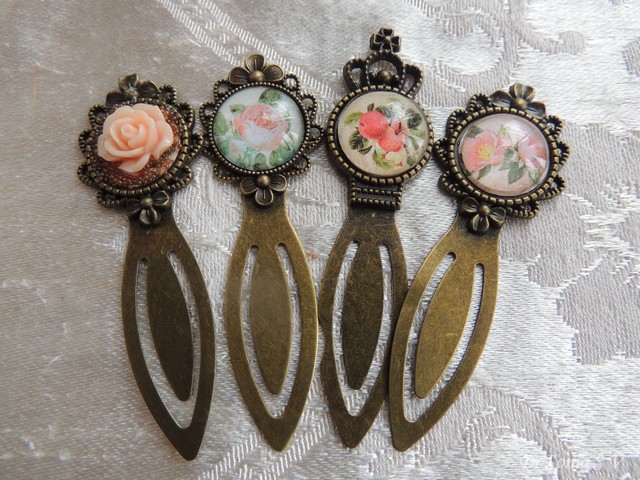
Using up scraps is a challenge especially the tiny bits. In this post I am sharing how you can use tiny teeny bits to create useful handmade metal bookmarks.
 |
| Metal Bookmarks Tutorial |
Materials RequiredGlass Cabochons + matching Metal Bookmarks
Pretty Paper
Adhesive : an adhesive which dries clear and is super strong and wont yellow over time.
Cut out the image using a paper punch[ I am using an EK success 3/4th inch punch here]. Put the image upside down so that you can see exactly where you are cutting from the underside of the punch.
 |
| Metal Bookmarks Tutorial |
Alternately place the glass cabochon/disc on the image and trace the outline of the disc using a pencil and cut it out. You don't have to be super accurate as the convex shape of the cabochon will hide minor jagged edges.
 |
| Metal Bookmarks Tutorial |
Apply a tiny bit of adhesive on the flat surface of the glass disc : I use glossy accent and find it is the best for this as only a tiny bit is required, it doesnt alter the color of the image, stick very well and fast and dries absolutely clear.
 |
| Metal Bookmarks Tutorial |
Smear the glue evenly [ I use my finger for this!]
 |
| Metal Bookmarks Tutorial |
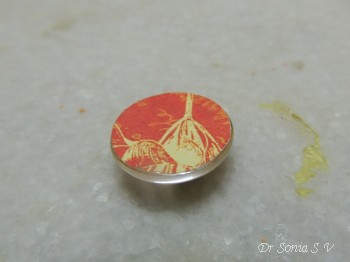
Stick your image so that the image side is on the glue.
 |
| Metal Bookmarks Tutorial |
It dries almost instantly and you can use these cute glass discs on their own or go ahead and make bookmarks!
 |
| Metal Bookmarks Tutorial |
Apply glue on the metal bookmark
 |
| Metal Bookmarks Tutorial |
Spread evenly making sure you have glue on the inner rim too.
 |
| Metal Bookmarks Tutorial |
Stick the Cabochon and you are done...So easy and so beautiful !!!
 |
| Metal Bookmarks Tutorial |
Here is another Graphic 45 butterfly .
 |
| Metal Bookmarks Tutorial |
 |
| Metal Bookmarks Tutorial |
These metal bookmarks are so easy to make and will make awesome gifts .If you add a matching handmade card it will be just the perfect handmade gift set!
Handmade Rose CardThis Card features a handmade rose made using
Spellbinders Rose creations dies using this Tutorial :
Easy Rose Tutorial  |
| Handmade Rose Card |
I used Ranger texture paste and a beautiful stencil to make the background
 |
| Stenciled background |
This card is a variation of this
Rose Card shared earlier.
 |
| Handmade Rose Card |
Supplies :
Dies : Spellbinders Rose Creations , Winnie and Walter Essentials Audrey Cutaways , Nellie Snellen Hearts, Cheery Lynn Rose Leaf Strip
Stencils: Scrapberry's Petals Pattern Stencil


Nenhum comentário:
Postar um comentário